202102180951 Welcome to The Archive
#TheArchive
Welcome to The Archive. We’re happy you’re here!
This is a short introduction to the functionality of The Archive.
Make sure to check out our forums to discuss knowledge work and this app with others: https://forum.zettelkasten.de
The Interface
The user interface has four important parts:
- The Editor. That’s this big area to the right you are looking at and where you edit your notes.
- The Omnibar. The Omnibar is the search bar at the top. It filters all the files in your archive via full text search and commands the list of search results. See below for details. Next to it, you have forward/back navigation like in your web browser.
- The List. It displays your notes to the left of the editor. Depending on what the Omnibar contains, it either shows all your notes or a set of notes that match your current search, depending on the content of the Omnibar.
- Saved Searches. All the way to the left, there are the saved searches. You can define a search term and then just click on the button. Very useful if you go to a set of notes frequently.
In the “Help” menu, you will find “Show App Guide” which explains the interface to you anytime.
Try it now!
Then let us dive a little bit deeper.
The Omnibar
The Omnibar is the place to interact with your archive. It’s the search-and-create box at the top of the app, just like in a web browser.
Typing into the Omnibar filters your notes as you type to match your search.
Imagine The Archive as a remote control for your directory of plain text files. Familiarize yourself with the shortcut to access the Omnibar quickly from anywhere: ⌘L. You’ll need this a lot to navigate in your archive.
Hit the Escape key from anywhere to clear the search, deselect whichever note was selected, and start a new search.
When your cursor is inside the Omnibar and it is focused, you can use the arrow keys to navigate around in the list of search results. You can even press the shift key to select multiple notes from there. No need to click inside the search result list with the mouse. Other shortcuts that work inside the list of notes work here, too, like ⌘R to rename or ⌘⌫ to delete the selected notes.
The Archive automatically selects and displays a note that’s considered to be a good match for your search: that is, if the file name of the note begins with the search phrase you type. See how this note is selected as you type “202102180951” in the Omnibar after clearing the current selection with the escape key.
From the Omnibar, hit the enter/return key to “confirm” the selection.
- If a good match was found, this will take you to the editor.
- If no match was found, this will create a new note. This part is useful to quickly take note of thoughts.
You can also hit the tabulator key to jump to the note editor. This won’t create a new note if none exists.
Movement from editor to Omnibar and back again will become very important, so learning these handful of key strokes pays off quickly. Especially when you combine this with linking between notes, which we’ll address shortly.
The List of Notes
The list of notes to the left of the application window is either the complete list of all of your notes, or a set of notes that match your current search. This depends on what you typed into the Omnibar.
The Editor
We assume that you know how to type. The Archive highlights what you type according to your theme and to the Markdown syntax. The Markdown syntax gives you two features.
- It lets you make a plain text file more readable even when you wouldn’t have syntax highlighting. The Archive’s highlighting enhances this effect. Markdown quickly becomes second nature.
- It gives you the opportunity to make use of many export functions (convert Markdown to LaTeX to PDF for example). This makes The Archive work better with distraction free editors (highly recommended over bloated software).
For a full documentation have a look at this website from the creator of Markdown: https://daringfireball.net/projects/markdown/basics
Basic Textual Markup
Let’s demonstrate the markup in text.
The line above with the 4 # signs demonstrates a level 4 heading. The more hashes you add, the deeper the level of the heading is. This is useful to structure longer texts but is not used that often in notes.
- Writing lists is useful.
- When list items get longer, The Archive visually wraps the lines around and adds indentation to guide your eye along the left when you read.
- Nested lists work, too.
- And, as you see, you can number items to make the list an ordered list instead of an unordered list.
- And so you may start an overview.
You separate paragraphs of text with empty lines, not just with single line breaks. Inside paragraphs, you can embolden parts of text like this to really stress something, or italicize text for a much milder emphasis. Or you Italicize emboldened text for maximum emphasis. Shouting in all caps is optional and not recommended during office hours. Be smart and emphasize with style.
If you want to add code or put something that would be recognized as Markdown in verbatim, you can use back-ticks, disabling *emphasis*, too.
Quoted from the Markdown guide:
Block-quotes are indicated using email-style ‘>’ angle brackets.
Images and Image Preview
By default, The Archive enables to show an image preview when you use Markdown image literals like . You can turn this off in the preferences or the “View” menu.
There’s one condition: the image literal has to be on its own line. Images in the middle of text disrupts the writing and reading experience.
So this will not work: 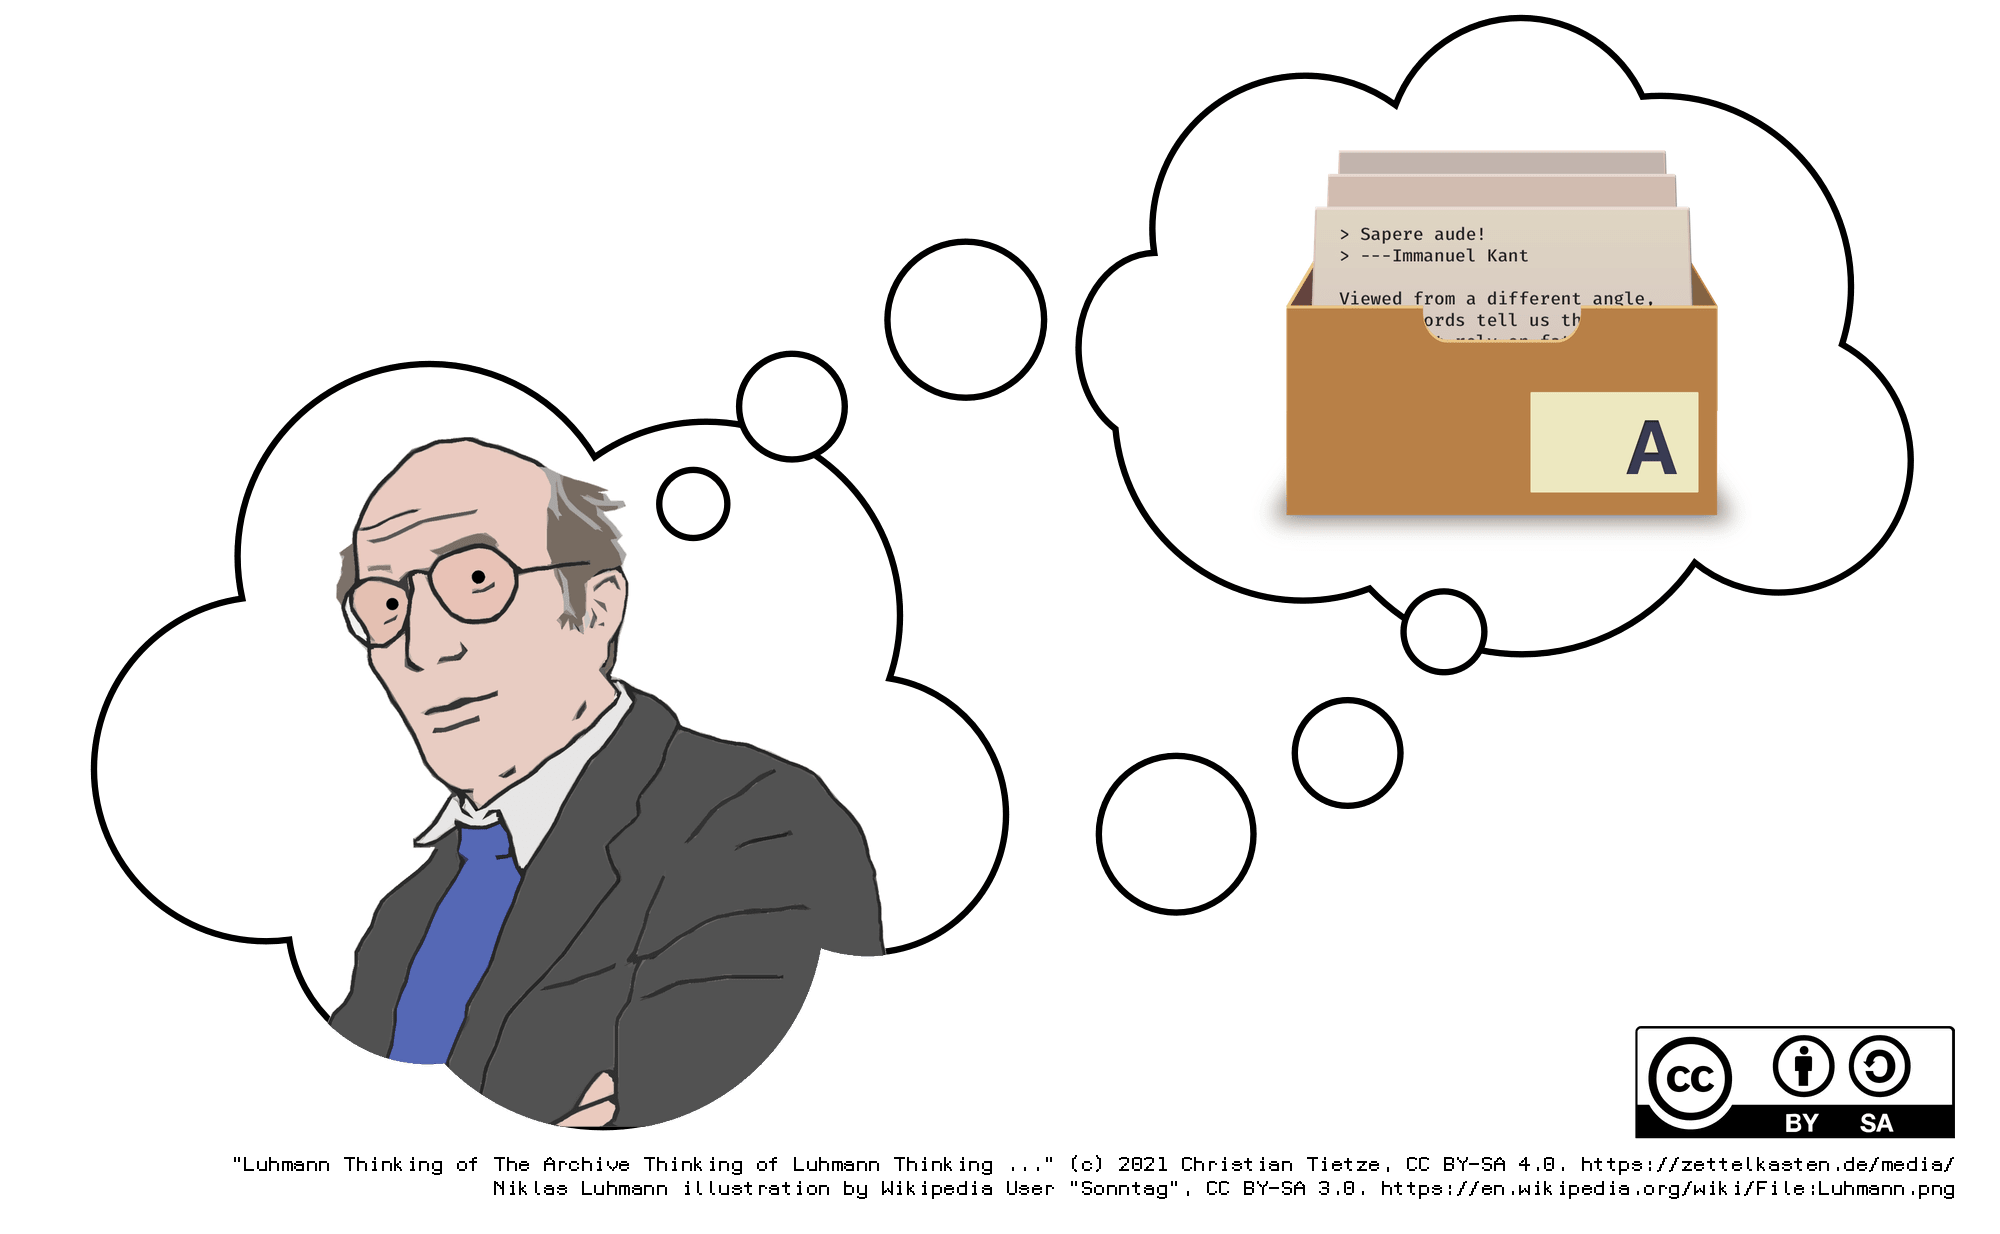 , because it’s inside a paragraph. But the following should display an image:
(Source: https://zettelkasten.de/media/2021-02-21-luhmann-archive/, CC BY-SA 4.0)
Combine the preview of images inside your note editor with the “Capture Image” function (find it in the “Edit” menu) to quickly snap a picture with your web cam, and you can quickly draw sketches on paper and include them in your notes! We have put a YouTube video online to demonstrate this: https://www.youtube.com/watch?v=Wp7oHW-s7sA (Watch until 4:30min to see the image capture in action.)
Code blocks
Then there’s verbatim or “code” blocks,
created by either block-indenting text
with 4 spaces or a tabulator;
or you can use
GitHub-style code fences which ease copy & pasting.Themes for The Archive are recommended to use monospace fonts. Monospace fonts have predictable character widths which is useful for lists, tables and more. You could customize a theme to only use monospace fonts for code blocks, though.
Special Features - Just for You
So far, so good. Now let’s take a look at a couple of special features.
Clickable Tags
You can elevate a word to a tag by putting a hash in front of it: #BestTagEver. You see that The Archive highlights it. You can click on it and The Archive will search all of your notes for this tag.
If you think of tags as markers for sets of notes you will get it right.
Search Expressions
The Omnibar performs simple text search, but also offers Boolean search expressions and other search niceties.
For example, when you surround a phrase in quotation marks, “like this”, it will search for the phrase, and not the single words it’s made of.
Then there are logical operators:
- Operators are all caps:
AND,OR, andNOT. foo bar bazis equivalent tofoo AND bar AND baz.- Instead of writing
NOT, you can prefix a word or phrase or parens with!:NOT bis!band will show notes that have no “b”. - Phrases win over the exclamation mark:
"!b"is a phrase search for “!b”, matching the literal exclamation mark. - Instead of surrounding something with quotation marks, escaping with a backslash works, too:
\!bwill treat the exclamation mark as part of the search string. - Escaping quotation marks inside phrase searches will also work:
hello "you \"lovely\" specimen" - You can parenthesize expressions to group them. For example,
!(foo OR (baz AND !bar)is equivalent to writing!foo OR !baz AND !foo OR !bar.
A real-world example: "the archive" OR #zettelkasten will not match the and archive alone, as you’d expect from phrase searches. You will get all notes that are tagged with #zettelkasten, contain the phrase “the archive”, or both.
If you’re into algorithms, please note that OR and AND do not have correct operator precedence; I found that doesn’t matter for searching notes. So if in doubt, better use parens to group parts of the search!
Links to Other Notes
If you surround a word or a phrase with double brackets, The Archive makes it clickable like it does for tags, see: [202102180951 Welcome to The Archive] It is a search command you can click on. If you are specific enough with your search term you can link to a specific file. The Archive will automatically display a good match from the search results in the note editor to pull this effect off.
To make links really specific, we recommend putting a unique identifier in the file name. Then the search command (serving as a link) can be very short: [[202102180951]] will point to the same note but with less noise.
Recall that you can use enter/return in the Omnibar to confirm your selection: when you combine this with links, you can plan link structures ahead of time. That means you create a link to a note that doesn’t exist, follow the link, then create the note. Try the following to see it in action: after you click the link at the end of this line, hit enter while still in the Omnibar to create a new note: [[202103120829 My first note]]
You can also use the linking feature to save complex searches as explained above for later, like this: [[#TheArchive AND NOT “Welcome to The Archive”]] – by exclusion, it will not show this note anymore, but still find the “Acknowledgements” file.
You may ask why we didn’t just include a direct linking feature. We designed it like that because we want your note archive to also work with other apps. That means The Archive won’t use anything that is not reproducible with most other text editors. A proprietary link format isn’t reproducible, but a textual reminder to search for whatever is written between the double square brackets is. We call this approach to making our app not box you in “Software Agnostic Programming”.
While The Archive streamlines many processes you may need for effective note taking and creative knowledge work. But we don’t want to box you in with proprietary file formats or anything like that. We think that you should decide what is best for your and don’t want to interfere with that decision. (The Archive is still the best thing since sliced bread… just saying.)
Saved Searches
Some searches have to be done repeatedly. Quite often you will need to return to the same set of notes. For that reason, we included the saved search feature.
You can assign hotkeys for specific searches. Then you can access a specific set of notes in an instant.
The search expression syntax of the Omnibar work for Saved Searches, too. You can save the search for #outline OR #draft and get back to all your current projects quickly.
To add more icons to that list, you can do it any of these ways:
- Right-click in the sidebar with the icons and pick “Edit Saved Searches…”.
- Pick “Edit Saved Searches” from the “Saved Searches” menu.
- Open the app’s preferences and select the “Saved Searches” tab.